There are many reasons why storing and organizing your photos digitally is a good idea:
Tip #1
It’s really, really, really easy to lose or damage paper of any kind. No one should ever have to carry around the guilt of losing Grandma Nancy’s wedding photos due to the basement flooding. If it’s digital, you can always print a hard-copy. But if you don’t have the hard-copy, you can never make it digital.
Side Bar
To anyone with the argument of things getting lost in “The Cloud” - that’s what hard drives are for. For those that argue about privacy concerns… that is a fair point. But as people who share overly personal details at unflattering angles to all of Instagram on a daily basis, we obviously aren’t concerned enough to change our ways.
Tip #2
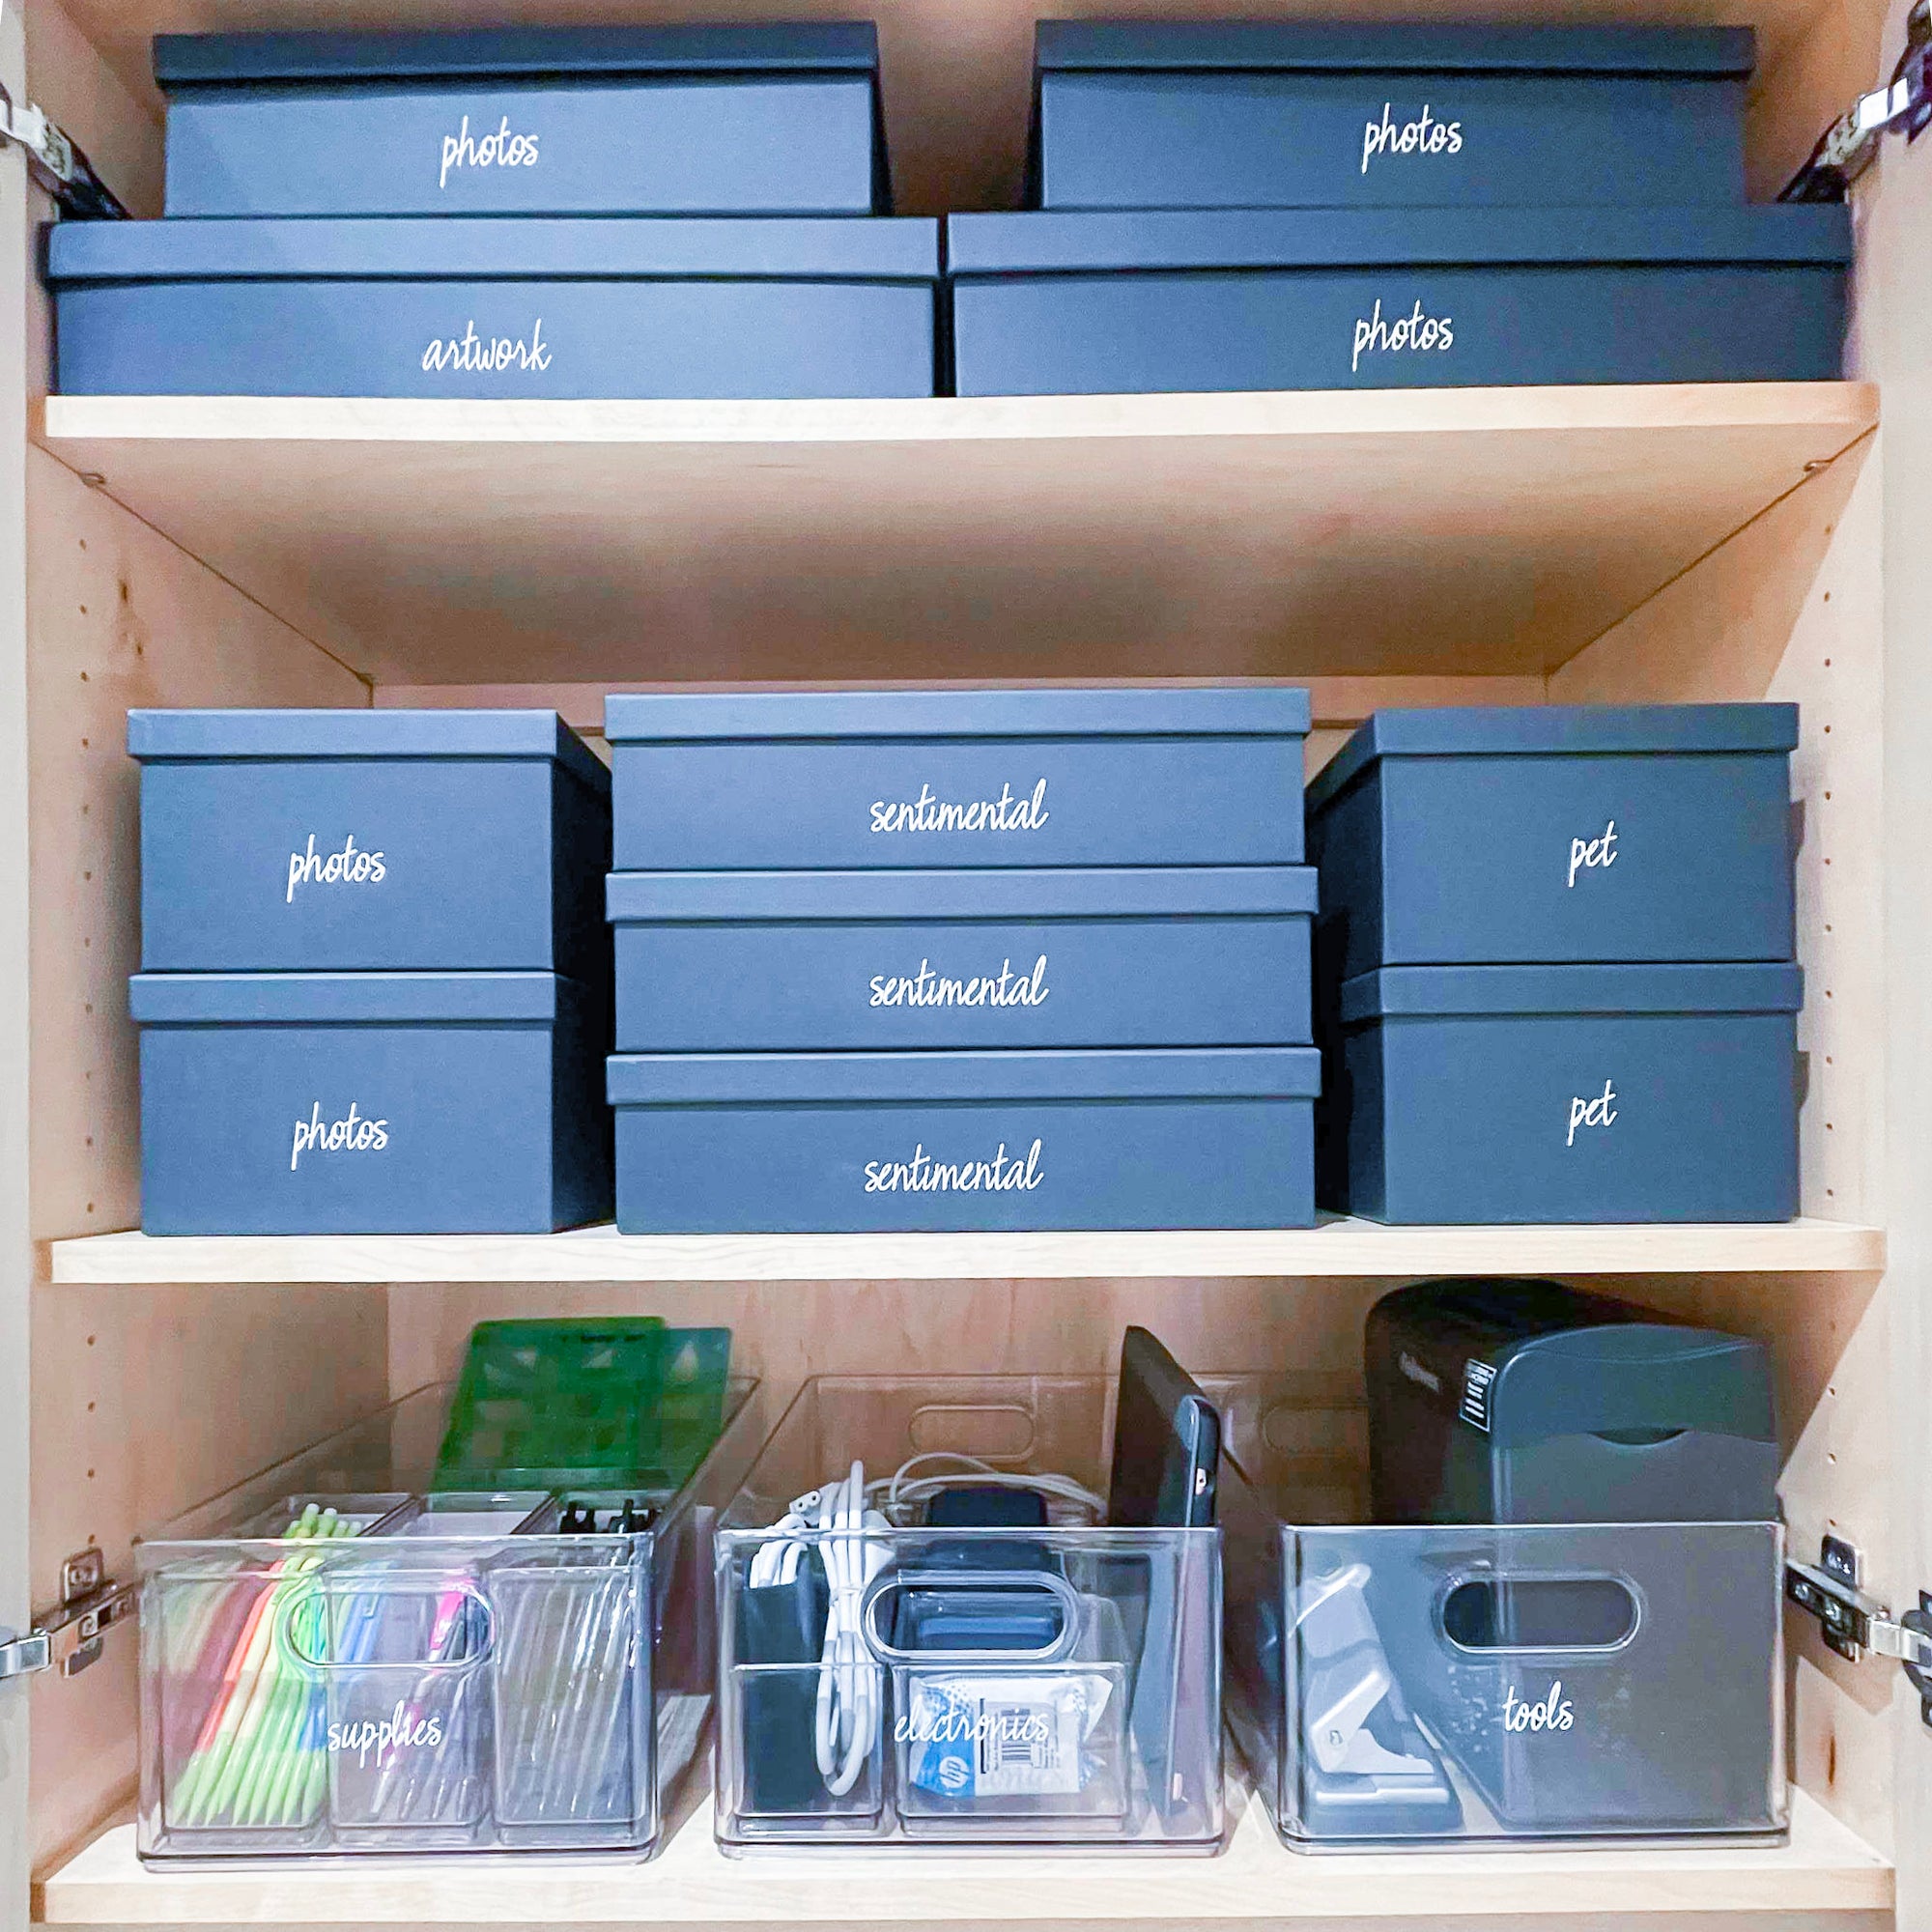
Photo albums and storage boxes take up a lot of valuable real estate. Most people rarely access these items as it is but still hold onto them for obvious sentimental reasons (and in our case, to remind future generations that at one point in time, we didn’t look so tired). Similar to how carbs don’t exist on vacation and calories don’t count if someoneelseordered the fries - digital photos leave no physical footprint, so you can load up without guilt.
Tip #3
Let’s be honest, life is better sitting down. Wouldn’t you prefer accessing all your photos with a click of a button, rather than having to pull heavy albums off a shelf or sift through boxes? There’s truly something magical about being able to type a keyword into a search bar and having the specific photo you are looking for pop up instantly (we’ll get into this).
Tip #4
YOU CAN EDIT TO YOUR HEART’S DESIRE. Whether you’d like to color-correct an old photo from 1975 or smooth out your wrinkles from 2019, there are a variety of photo editing programs and apps that are easy to use and allow you to transform the quality of any photo without paying a professional service to do it for you.
Before we go over how to organize your digital photos, let’s cover the basics.
Pre-Digital Age Photos: Aka the photos you are going to have to scan. Sorry, there’s just no way around it. Will it be time-consuming? Probably. But will it be worth it? Most definitely.
Step 1: Scanners
Invest in a good scanner. For the sake of efficiency, it needs to be a scanner with a tray that adjusts to size and allows photos to be fed through the device one after the other. It’s also important to choose an option that filters the photos to a designated folder on your desktop. Built-in color correction and editing is another plus.
Brother Mobile Color-Page Scanner
SIDE BAR
Start small. And we really mean it this time. Don’t think this will be a project that you can complete over the weekend. Because you can’t. The best plan of action is to start with a single album or small photo box. Not just the first time, but every time you scan photos. This will make the process of uploading and categorizing your photos more manageable.
Step 2: Photo Purgatory
Every scanner is different in its specific functionality, so I’ll leave the technical steps to them. However, the one thing that all decent scanners have in common is that they will route your photos to a single desktop folder. This folder (which is usually named after the scanner itself) is like purgatory for photos.
Step 3: Photo Folders
Create a general “photo” folder on your desktop, and subfolders within it by category, preferably by year. Drag and drop from the “scanner folder” to where it belongs. You can always go back later and subgroup within a subfolder if necessary.
Step 4: Keywords and Tags
Once the photos are in their correct folders, click the “info” button on each photo or if you are in iPhoto, look for the “i” button and add keywords and tags that will make them easily searchable.
sidebar
For tags and keywords, it helps to think about how you will search for it in the future, and go from there. For instance, if it’s a photo from a family vacation to the beach, use the word “beach”. Even if multiple photos from various dates are all at the beach, it will at least be easier to filter through.
Step 5: Storage Options
Decide how you want to store them. Some people prefer to store photos on their desktop and import it to a hard drive. Others prefer to keep their photos organized within iPhoto. Another option is using services like Dropbox and Smug Mug that store your photos for you and require a password. Once you do your research, it comes down to preference and using a system that makes sense for you.
