TIP 1: FOLLOW THE 80/20 RULE
One of our core beliefs is that you get the item or the space, but you don't get both. Everything you own takes up a certain amount of physical space, and eventually, even the largest home will run out of square footage. The simplest way to avoid system overload is to leave at least 20 percent of breathing room in any given space. As Molly added new items to her closet without removing any, her once-balanced system reached max capacity, and editing was the only option. Four large trash bags later (gold stars for Molly!), we bought back enough space to create a functional system that Molly could maintain over time—no overflowing baskets and cramped clothing rods in sight!
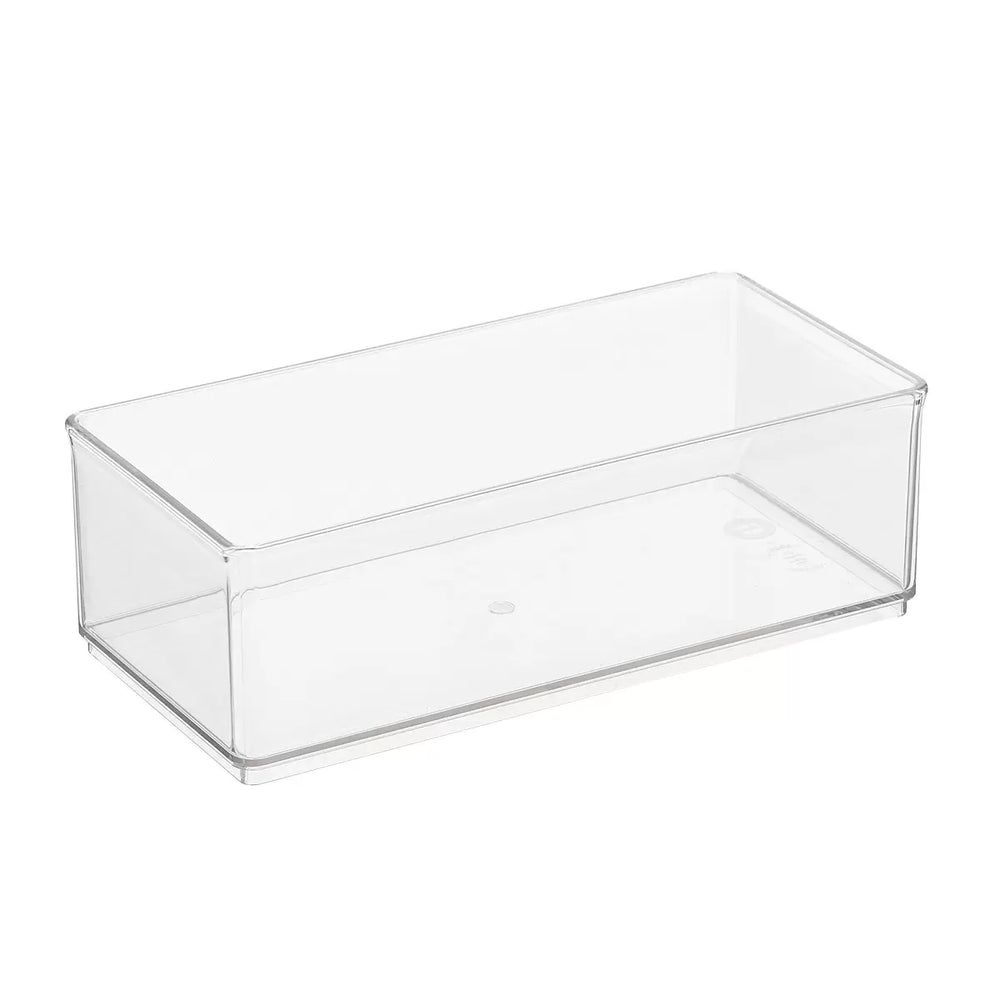
TIP 2: KEEP IT CLEAR
Concealed bins are a great way to store medium or large items of the same category that is straightforward and requires zero subgrouping—t-shirts, swimsuits, belts, you catch the drift. As for the smaller items with lots of bits and pieces? Christina said it best: Out of all of our products, our Clear Bin with the removable divider, plus baby bins and labels, of course, is the most versatile way to keep things visible and contained. We placed them on Molly's open shelving so she could have easier access to her travel essentials, clothing care kit, and other categories that became lost in the mix when stored in the original bins. Bonus benefit: Clear holds you more accountable than concealed, and sometimes we need that. Instead of an overflowing bin telling you it's time to edit, you won't be able to escape the clutter from the moment it starts since it's on display. You'll eventually get sick of looking at it and want to organize it immediately. It's a fun psychological game to play on yourself. 10/10 gold stars! Can't recommend it enough!
TIP 3: STREAMLINE YOUR STORAGE
Molly's jewelry collection is a treasure trove, but the mismatched containers took away from its beauty since the inserts didn't fit the drawer properly, leaving huge gaps where clutter would build. There were a few Stackers trays left over from our last visit, which seemed to be working for Molly; she just needed more of them. Luckily, Stackers come in all different sizes and styles, including expandable compartments for each type of jewelry—necklaces, rings, earrings, bracelets—making it possible to create a fully customizable storage situation that perfectly fits the space and items that live there.
*Btw, Joanna is so jealous she wasn't there to sort through all the bits and baubles with our team—it's one of her favorite hobbies, alongside gambling and seeing how many snacks she can fit in a tote bag!
TIP 4: STAY IN YOUR LANE
If you follow Molly on Instagram, you know she never skips a day at the gym. She also has the cutest workout gear and matching sets, which had been living in a drawer piled on top of each other. It made it nearly impossible for Molly to see everything she owned, so choosing an outfit required some digging. The solution? Expandable drawer dividers to keep rows of file-folded clothing neat and fully visible. Bonus points for grouping by category in rainbow order! Haven't figured out the file-folding technique quite yet? Grab your expandable dividers, then follow the steps below.
Step 1: Lay the shirt flat in front of you, with the front facing down.
Step 2: Fold in the right sleeve.
Step 3: Fold both sleeves to the middle of the shirt. Fold the sides of the shirt slightly; it should never go past where the hem (aka the neckline stitching) begins on either side.
Step 4: Fold the shirt in half from the bottom hem.
Step 5: Do a test! You'll know whether you folded it correctly if the shirt stands up by itself with the folded side up.
TIP 5: BUILDOUT YOUR BASKETS
Since drawers and concealed bins are basically cousins, it helps to approach them in a similar way. (If you have already forgotten our tip on drawers because you took a break to learn how to file-fold and then found your flow (isn't it calming?!), feel free to scroll up and refresh your memory. No judgment—we'll be waiting here when you get back!) Okay, so where were we? Ah, yes, add-ins that stop you from piling things on top of each other and having to dig. These Like-It organizers are bin-sized to keep folded or rolled items, like Molly's belts, contained and visible in happy little rows. Adorable, right?!